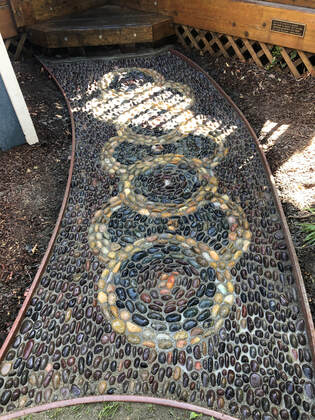
For years, my friends had been tagging me in posts about pebble path mosaics and I was always mesmerized by them. In my lifetime, I have made stained glass windows, wall mosaics, mosaic stepping stones, and other mosaic items, but I had never thought to do a path. Until now...
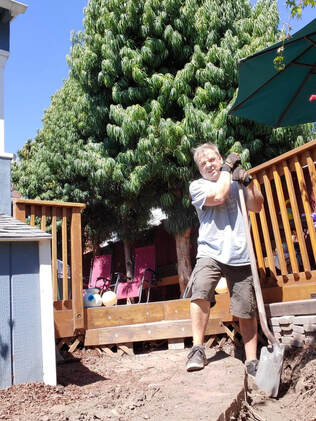
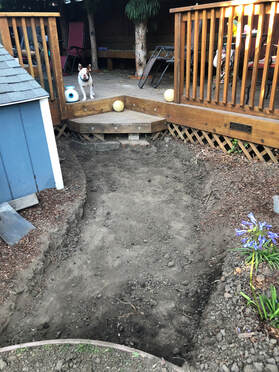
I did a lot of research in order to find out the best way to execute this endeavor and I documented the process that I used, here. My amazing husband started by removing the brick pathway that was there. He excavated to a 6" depth. The finished path would end up being 42" wide by 10' long with a curve as you'll see below.
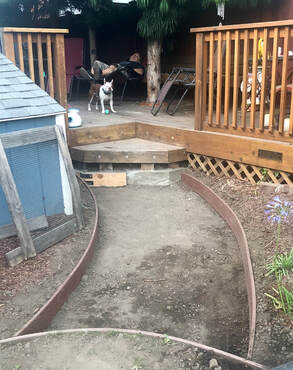
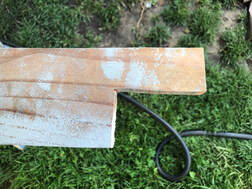
Once the approximate shape was sorted out, we purchased 1'"x6" bender board to lay it in as our edge support. This required more digging and backfilling in areas where the original path wasn't correct.
NOTE: When leveling, your bender board should be level across as it will serve as your guide in later steps. It should slope away from your house by at least 2% grade which we didn't have to worry about because we were already dealing with a slope.
I did a lot of research in order to find out the best way to execute this endeavor and I documented the process that I used, here. My amazing husband started by removing the brick pathway that was there. He excavated to a 6" depth. The finished path would end up being 42" wide by 10' long with a curve as you'll see below.
Once the approximate shape was sorted out, we purchased 1'"x6" bender board to lay it in as our edge support. This required more digging and backfilling in areas where the original path wasn't correct.
NOTE: When leveling, your bender board should be level across as it will serve as your guide in later steps. It should slope away from your house by at least 2% grade which we didn't have to worry about because we were already dealing with a slope.
 |  |
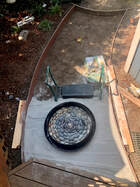
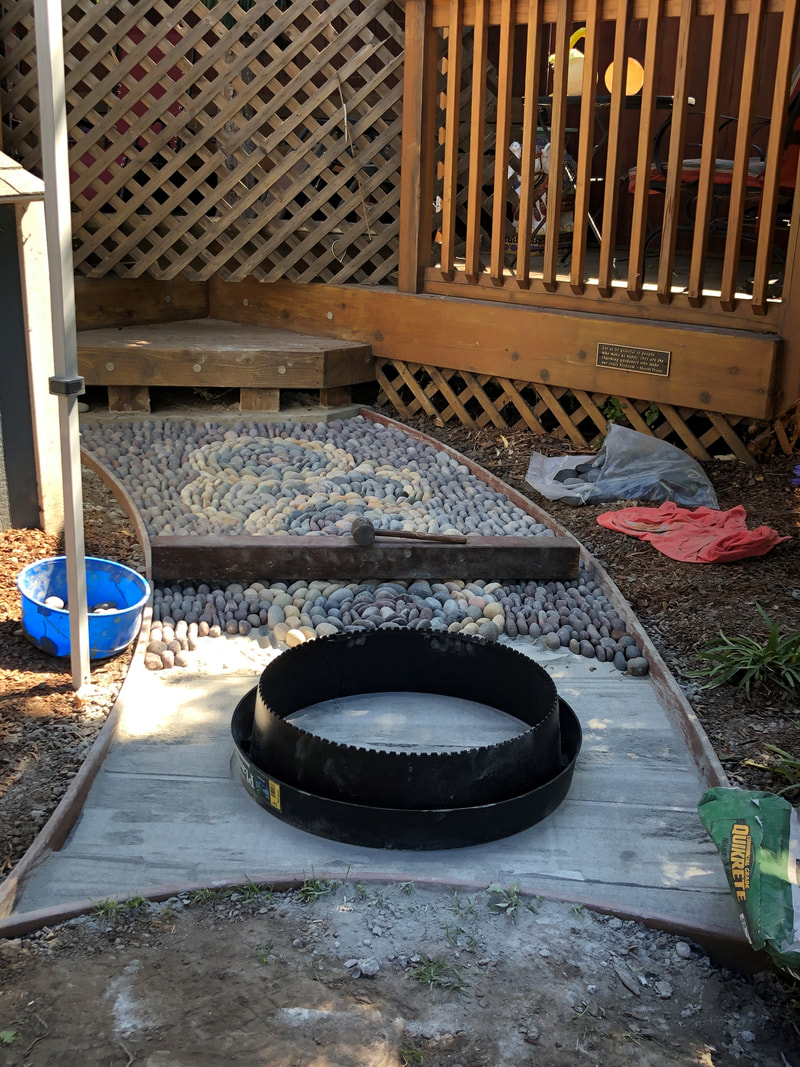
Once you have the site prepped and bender board installed, you should fill the space with 2" of dirt, base rock, or sand. We decided to sift the dirt that we had removed and used a steel tamper to tamp it down. We didn't feel this path received enough traffic to warrant base rock. Your goal would be to have only 4" depth from the top of your bender board. We learned the hard way, I figured we'd need more, so you'll see my finished product has a lip. I think aesthetically it would be more pleasing if there were less of a lip. If I were to do another path, I would do it this way. Instead, we only filled with 1" dirt, leaving 5 inches from the top of the bender board.
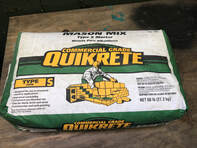
Next, it's time to lay down type S Mason Mix. I worked on my mosaic dry because I didn't want to be rushed. In my research I did see that some people work on their mosaic wet. I would have HATED to be rushed so while I didn't find many resources who worked dry, I figured I'd take my chances. I used a guide to insure that my depth from the top of the bender board to the top of the mortar was consistent at 2 inches. This means, I started with approximately 3 inches of dry mortar. I tried to work in 2-3 foot sections so that I could kneel on the dirt and reach the areas as I laid in the rock. I used some wood pieces against my kneeler to keep the mortar level.
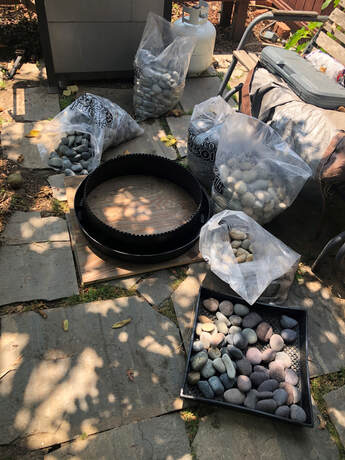
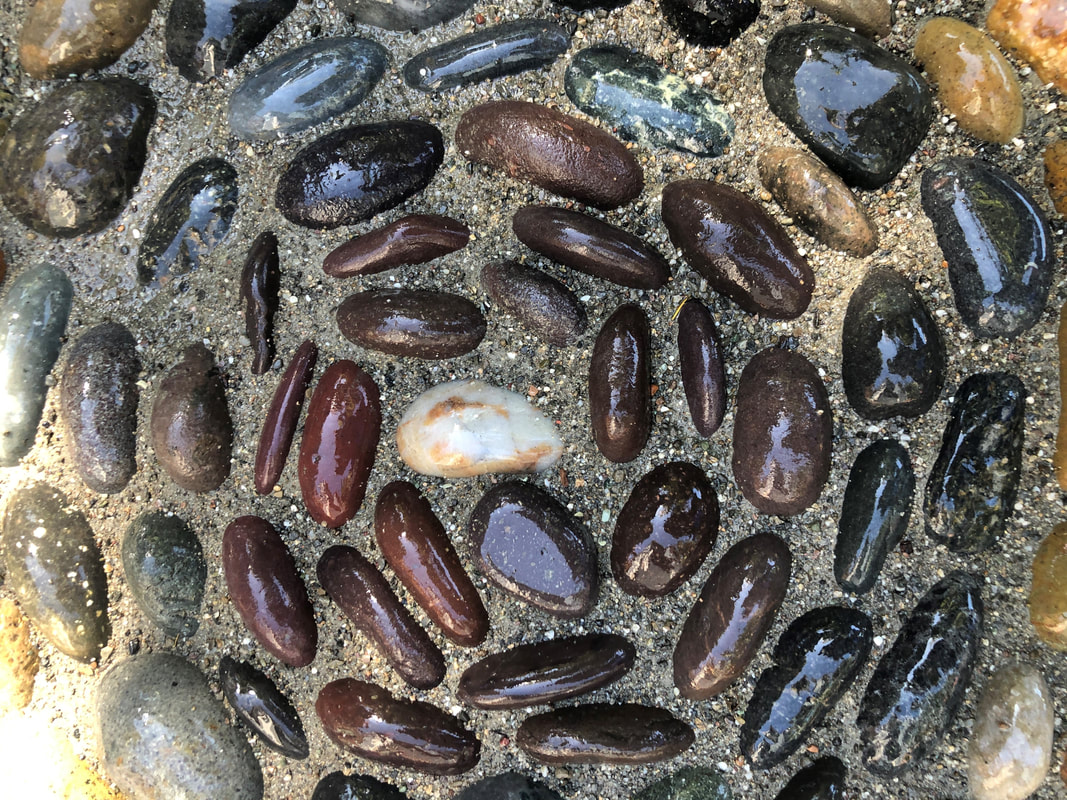
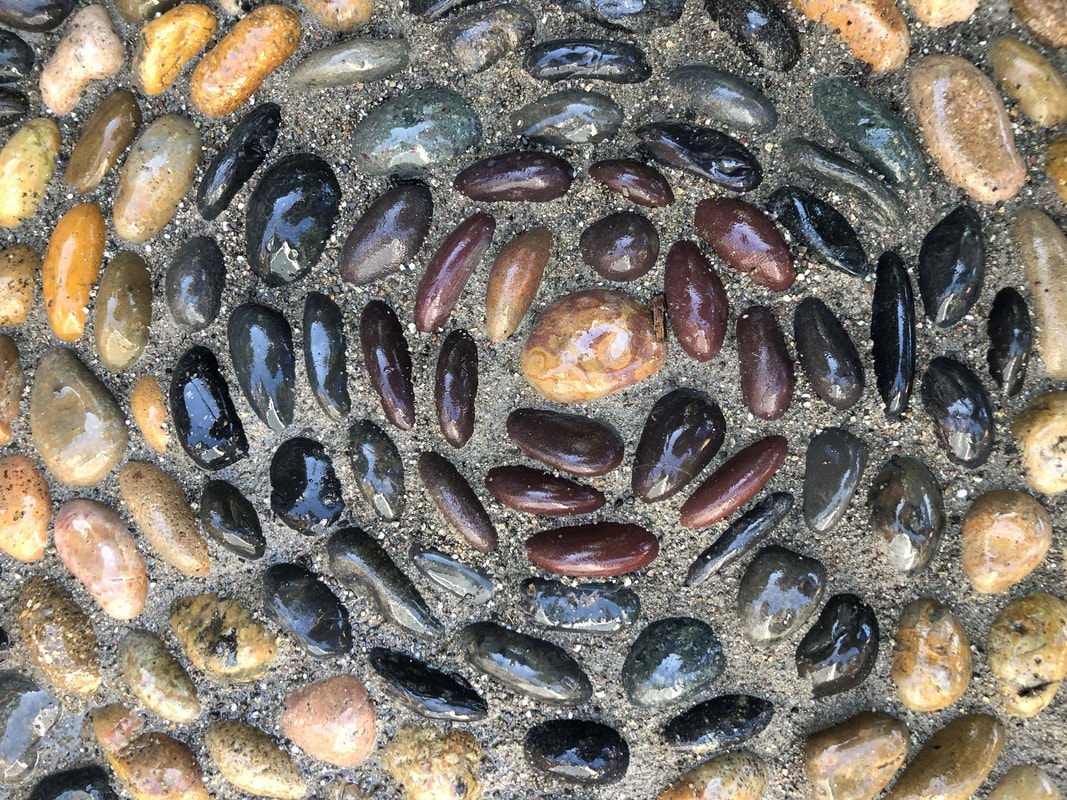
I purchased my rock at Acapulco Rock & Soil in Richmond, CA. I bought 1"-2" Mexican Pebble in three colors: buff, red and black. I bought these by the bag (75 pounds each) - 2 each of each color. I ended up using more red so I needed to go back and get another 2 bags of red pebble.
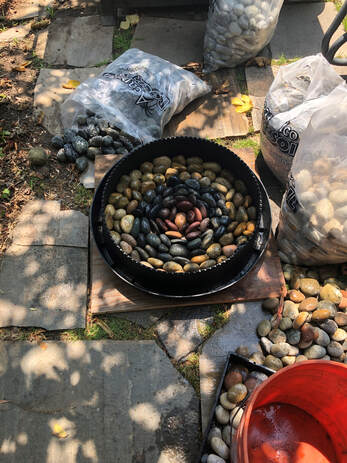
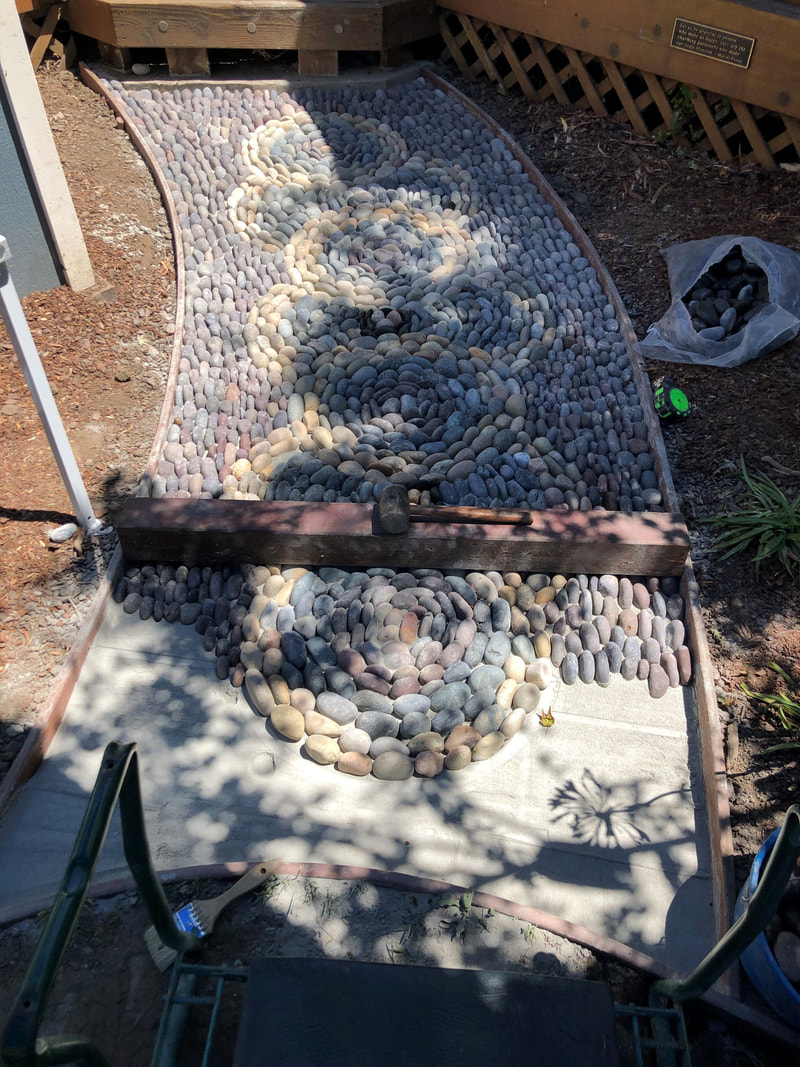
I used forms to help me create somewhat consistent circles. I arranged the pebbles under my fig tree where I could lay out my rocks and wet them to see their vibrant colors. As you can see in the photos below, when the rocks are dry are hard to discern their true beauty. I worked on a small piece of wood barely larger than my form which would allow me to arrange the rocks and then carry the completed concentric circle mandalas over to the path area (which was in full sun!)
I used forms to help me create somewhat consistent circles. I arranged the pebbles under my fig tree where I could lay out my rocks and wet them to see their vibrant colors. As you can see in the photos below, when the rocks are dry are hard to discern their true beauty. I worked on a small piece of wood barely larger than my form which would allow me to arrange the rocks and then carry the completed concentric circle mandalas over to the path area (which was in full sun!)
 |  |
I repeated this process and worked my way down the path but before moving along to the next section, I used a 4x4 and a rubber mallet to make sure that the rocks were all level (more or less) and that there weren't pebbles sticking up that would be a trip hazard later on. At night, I covered my project with a tarp to make sure that the morning dew wouldn't get on the dry mortar. I continued until all the pebbles were laid in the path area.
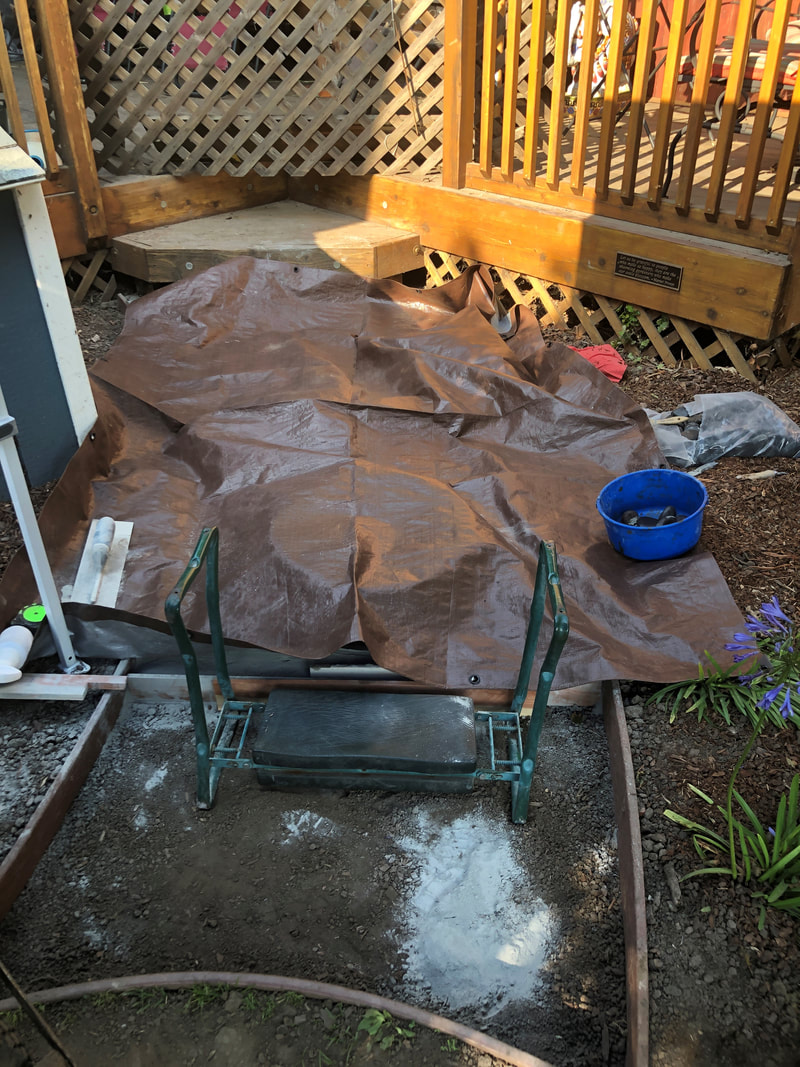
It was now time to wet the path. So... how much water is enough? We wet the path until the water pooled atop the mortar momentarily. Once it pooled, we let the water soak in and stopped applying more water. Since we wet the path early in the day, we again wet the path later in the afternoon to slow the drying process and create a stronger cure.
 |  |
The mortar was left to dry overnight, uncovered. When I woke up I checked the mortar and it was hard. I stepped on a corner to make sure that it was strong enough to continue and it was! So... it was now time for deck mud. Deck mud, or "topping mix", is 3 parts sand and 1 part Portland cement. I poured this onto the dry path and swept it until the rocks were exposed to the depth that I desired. Once it was all filled into the gaps, I wet the deck mud. That's it right???
WRONG!
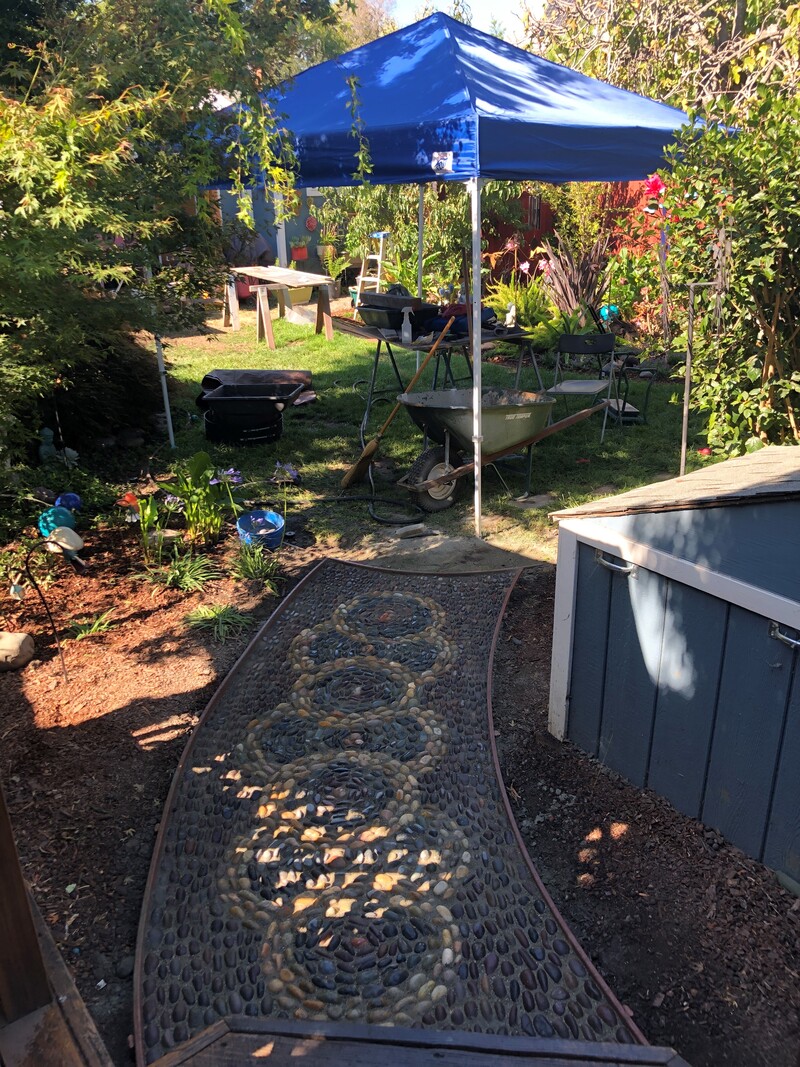
Now it's time to clean up! I made one heck of a mess and all this 'stuff' needs to go back into their resting places. Since it was a sunny weekend, I borrowed an E-Z Up from my neighbors so that that I could take breaks and rest in the shade.
WRONG!
Now it's time to clean up! I made one heck of a mess and all this 'stuff' needs to go back into their resting places. Since it was a sunny weekend, I borrowed an E-Z Up from my neighbors so that that I could take breaks and rest in the shade.
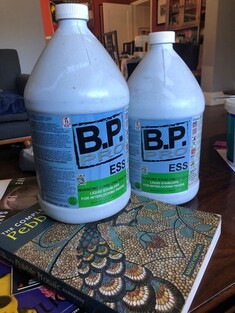
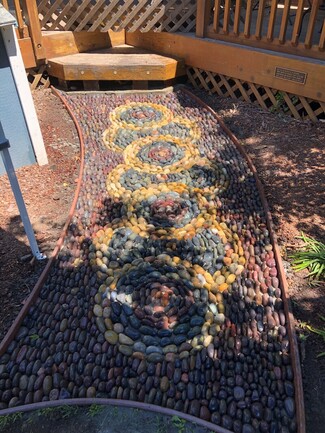
Finally... in order to maintain the 'wet' look and see the pebble in all it's glory, the entire path needs to be sealed. We have some leftover stabilizer from when we had our pavers installed, so I'm going to try with that to see what that produces. This will dry a semi-gloss. It also prevents weeds from growing in the deck mud. I will seal the path in a week to give it time to cure properly.
The approximate cost for this project was $300.
Here is a list of the material used in this project:
1"-2" Mexican pebble (8 75# bags)
Mason Mix (60#) - 8 bags
Deck Mud (50#) - 1 bag
1"x6"x20' bender board
The approximate cost for this project was $300.
Here is a list of the material used in this project:
1"-2" Mexican pebble (8 75# bags)
Mason Mix (60#) - 8 bags
Deck Mud (50#) - 1 bag
1"x6"x20' bender board

 RSS Feed